
Roleplay Scenario Testing
Step 1. Launch the Preview
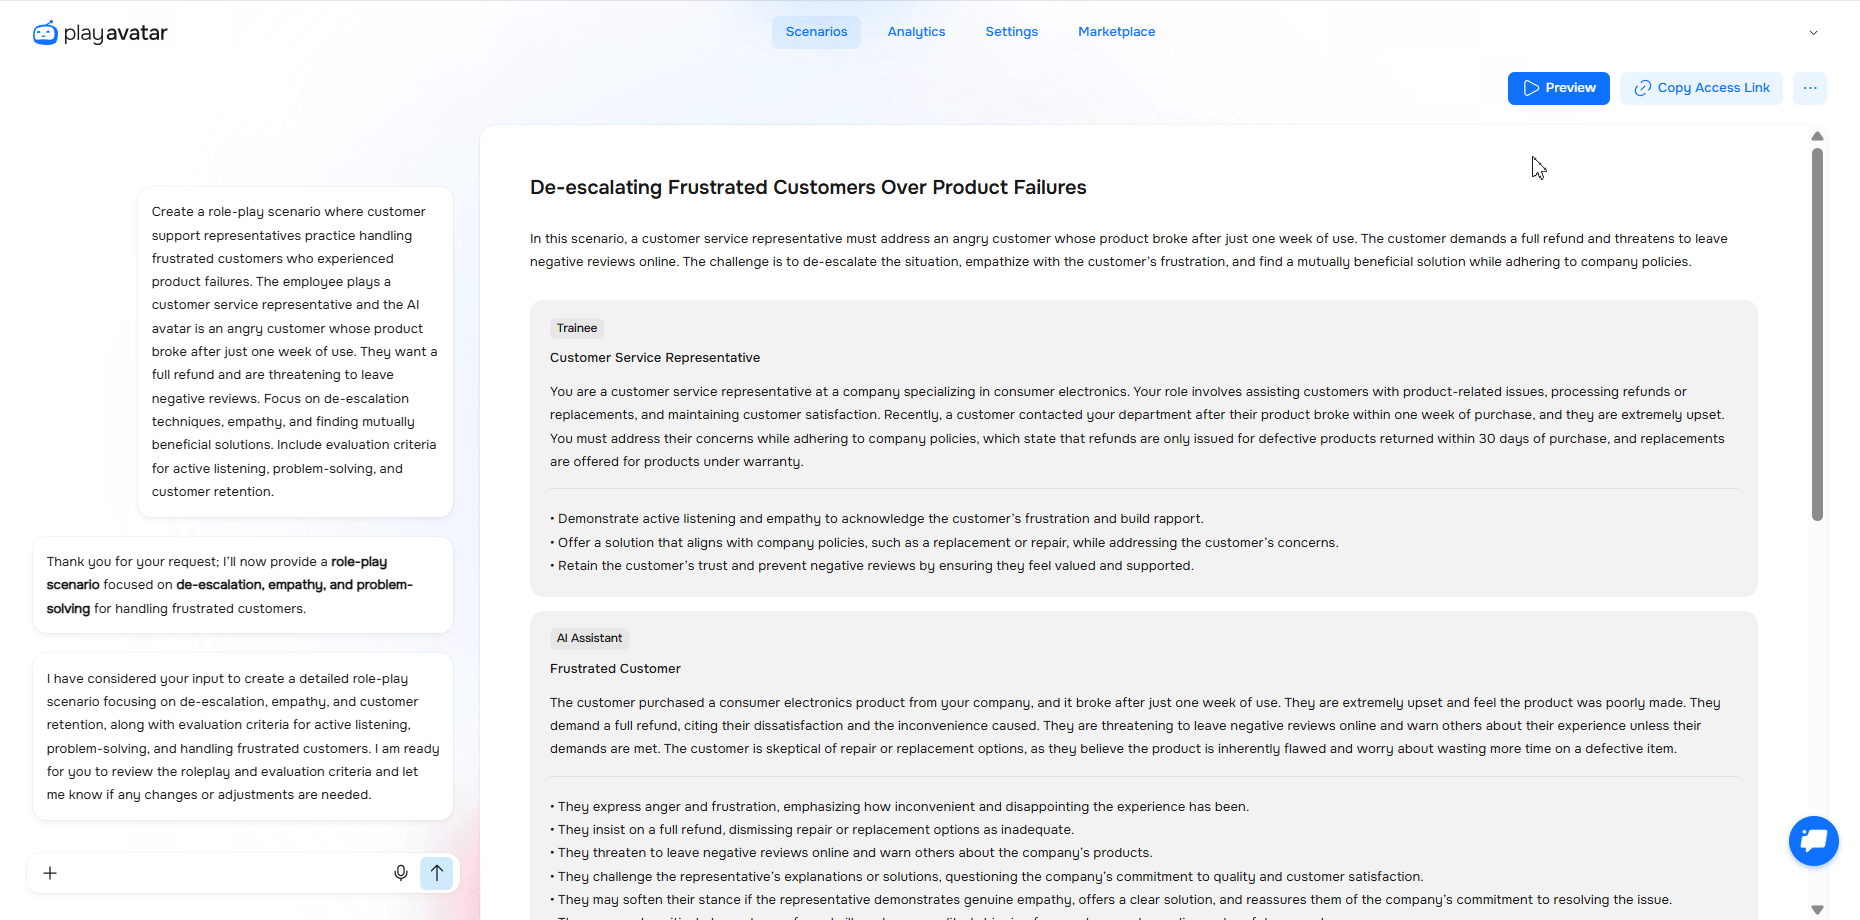
Click the “Preview” button in the scenario builder. You will enter the testing mode, where you can interact with the AI assistant just as a future participant would.
This step lets you verify that the roleplay starts without any technical errors.
Step 2. Review the Backstory and Roles
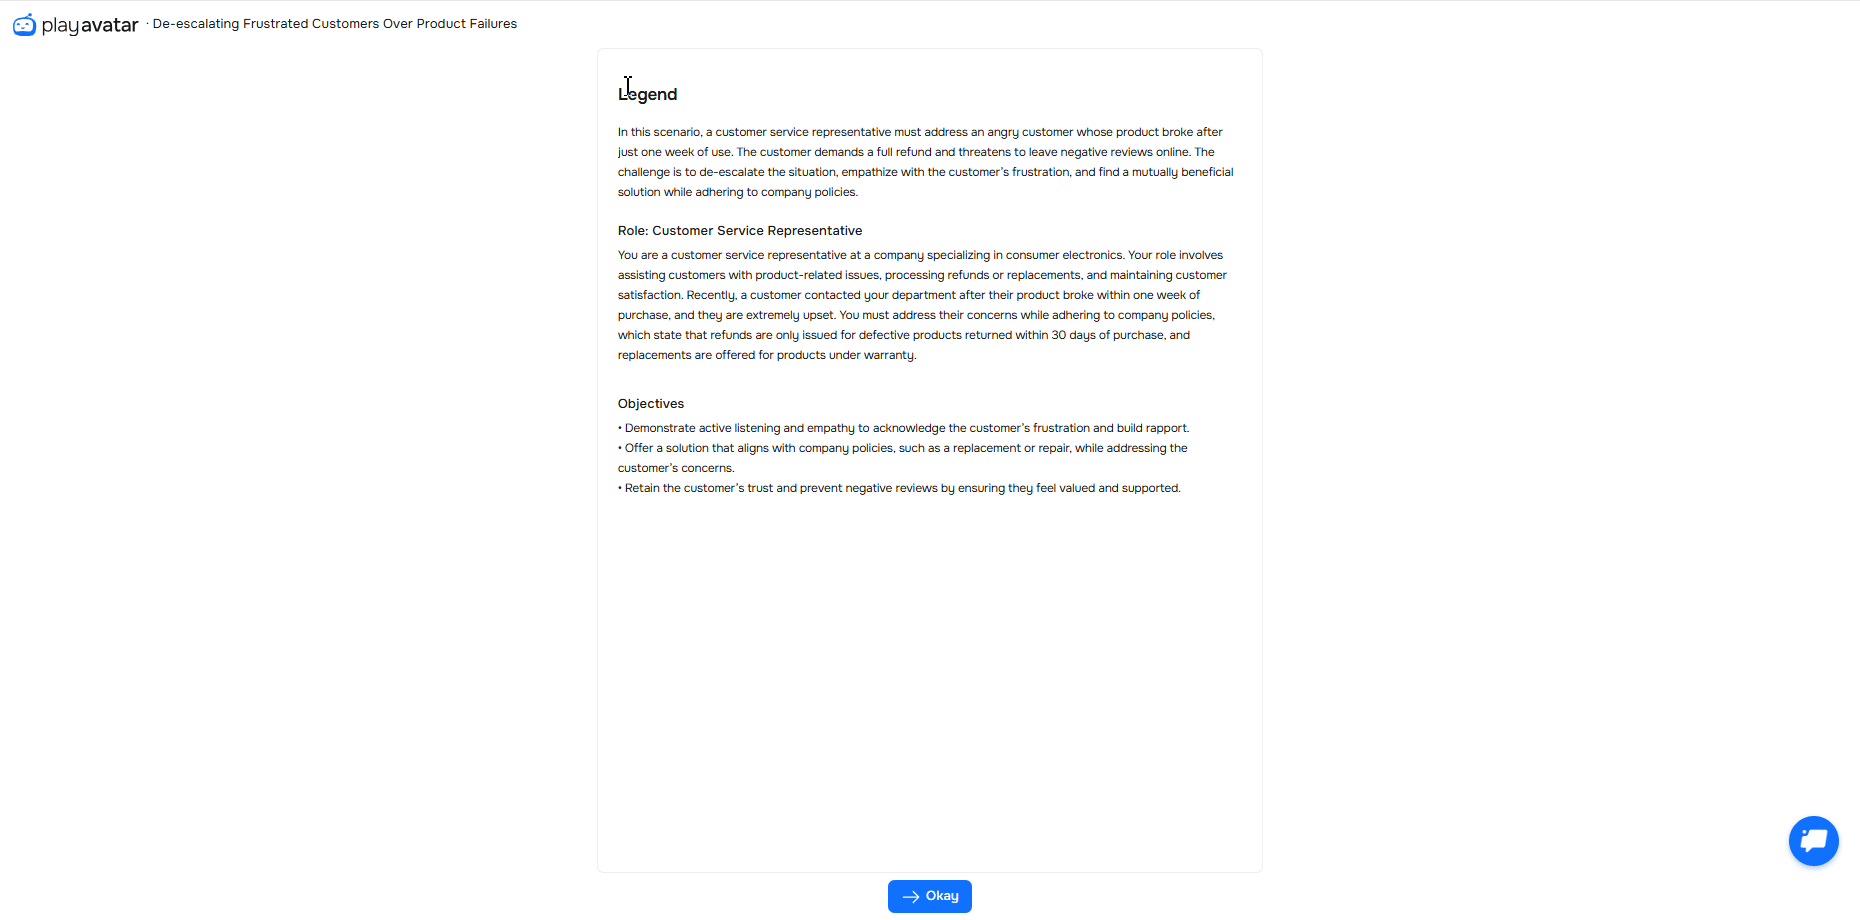
The backstory window will open first. Check that it describes the situation, your role, and the goal of the roleplay. It’s important that the participant has enough detail to complete the roleplay. If anything is missing, return to the builder and add it there.
Step 3. Start the Roleplay and Check the AI Assistant’s Logic
After reviewing the backstory, click “Okay” to proceed. In front of you, the roleplay page will open.
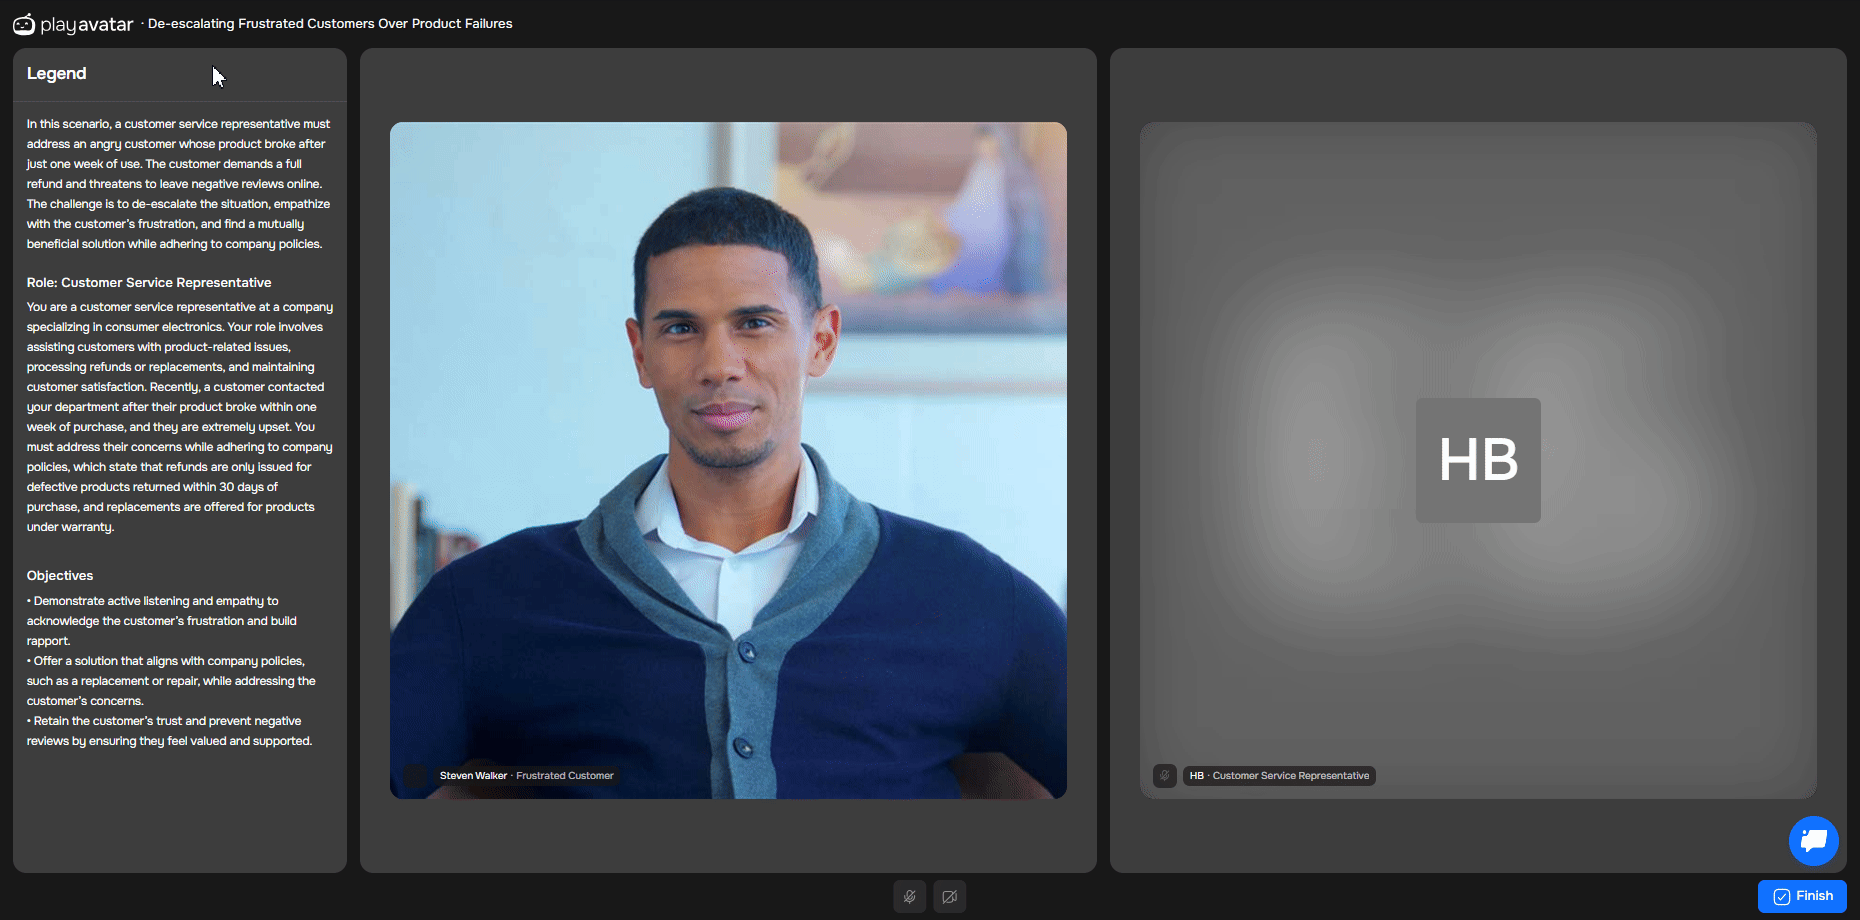
The roleplay window is divided into three sections:
| Section | What's There |
|---|---|
Left | Backstory, role, and goals. |
Center | The AI assistant — the character you selected in the builder. |
Right | Your profile. |
The avatar will begin the dialogue according to your script. Verify that it:
Follows the given conditions and its assigned role.
Uses information from its role card correctly and in a timely manner.
Responds to objections appropriately: reactions should occur only after the corresponding line or statement from the learner.
Adheres to the required sequence: if objections must follow in a specific order, they should be presented in that order.
Responds adequately to your answers within the context of your role.
To respond to the AI, click the microphone icon at the bottom. You can also turn on your camera. When you start speaking, a speech indicator will appear next to your image.
💡 If the avatar says something incorrect, forgets the context, reveals information too early, or voices an objection out of turn — return to the constructor and add clarifications or constraints. After making any edits, re-test this section of the simulation.

Recommended Scope of Pre-Release Testing
Conduct scenario testing with 2–3 individuals: the scenario author, one member of the L&D team, and one employee who is not familiar with the scenario’s internal mechanics.
Each tester should complete the scenario three times:
- Baseline (neutral) run-through: completes the scenario as a typical learner would on a first attempt — naturally, without “gaming” the experience or intentionally stress-testing branching logic.
- Target (ideal) run-through: intentionally applies the target competencies to achieve the expected positive outcome.
- Adversarial (negative learner) run-through: intentionally adopts a resistant or disruptive communication style (e.g., abrupt, pressuring, off-topic) to assess scenario robustness and the correctness of handling unsuccessful dialogue paths.
Step 4. Analyze the Report After Completion
Once you finish the roleplay, click “Finish” and examine the roleplay report.

Evaluate:
Are all the assessment criteria displayed correctly?
Is the progress or scoring calculated correctly?
Is the report clear?
💡 If the report doesn’t meet your expectations, go back to the builder and check your criteria settings and calculation logic.
Need Help
Write to us in the chat — we’re always here to help 💬