
Working with the scenario: access configuration, SCORM export and deletion
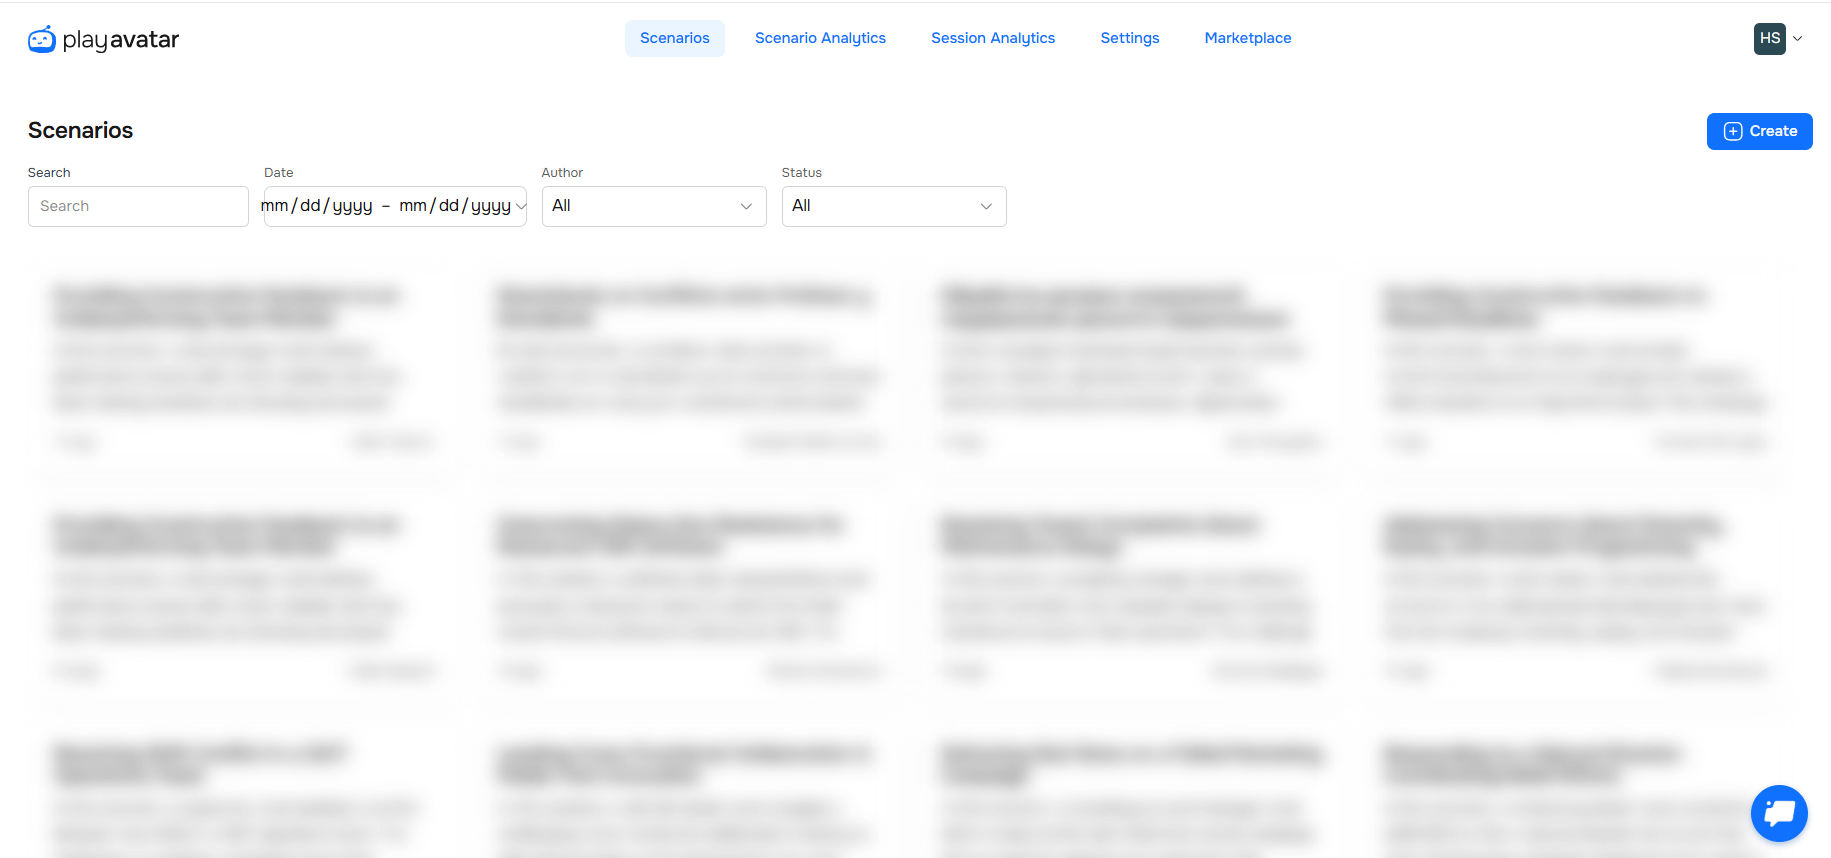
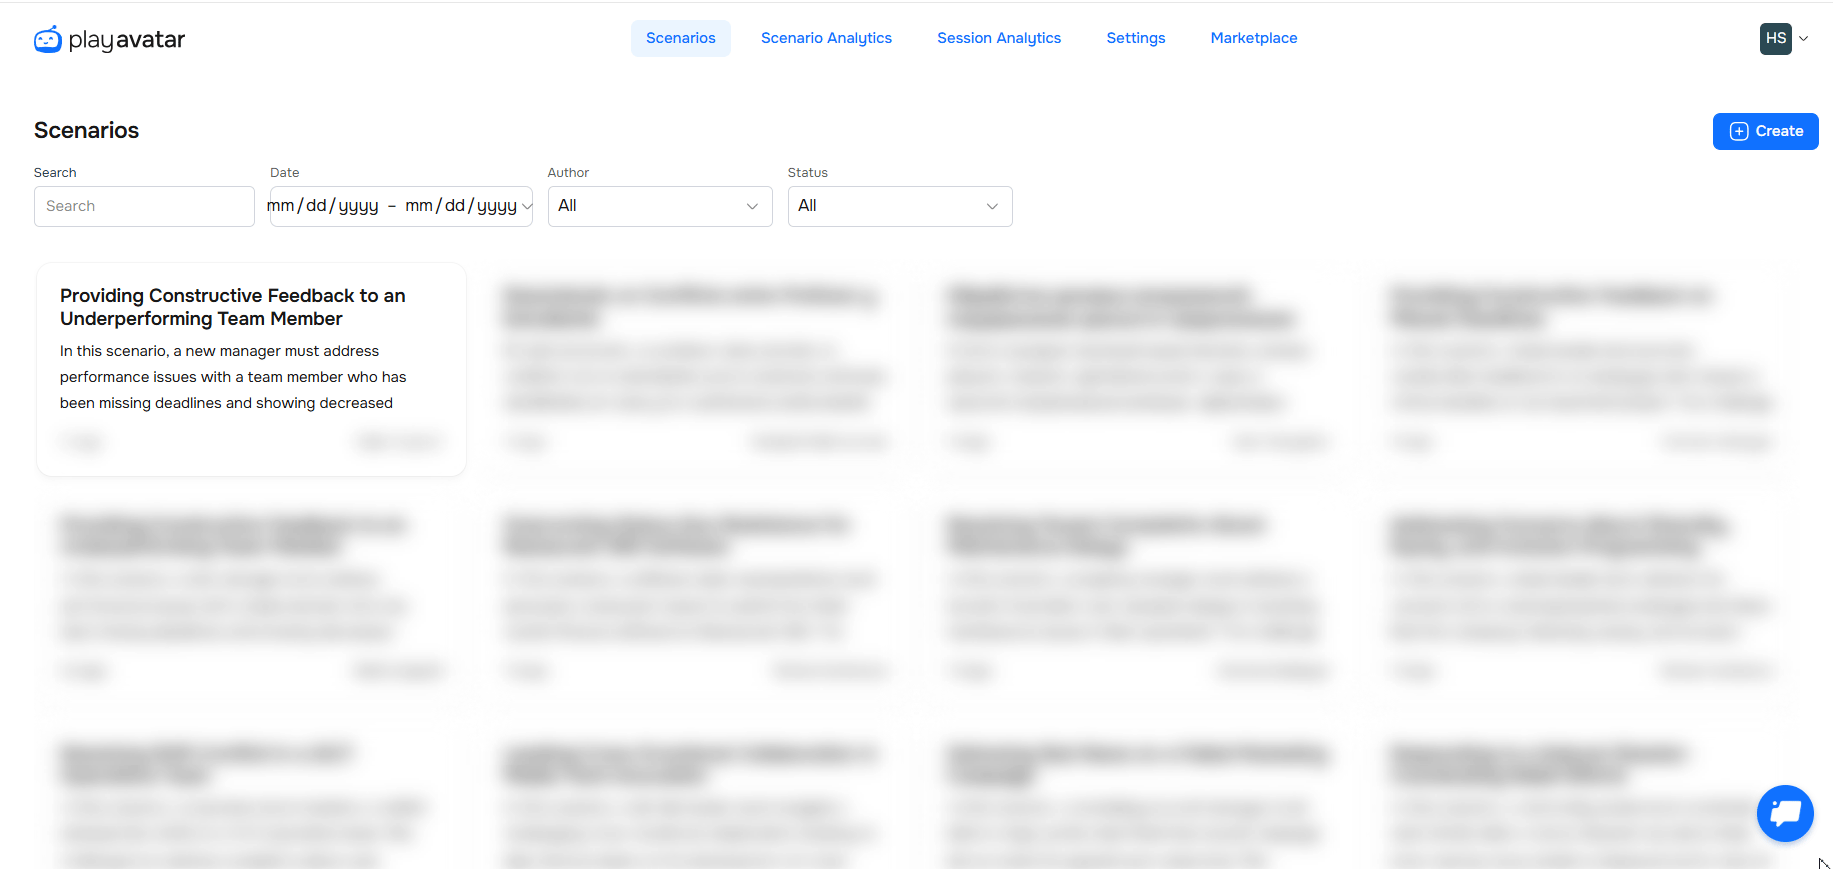
All scenarios are stored in your library on the home screen. New scenarios appear at the top of the list — so you can easily see what's been added recently.
On the scenario cover, you'll see the title, description, last opened date, and author.
To quickly find the scenario you're looking for, use the search bar and filters at the top of the page. You can search by name, date, author, or access type (public / private).
Once you've found the scenario you need, click it to open the editing page.
Scenario Setup
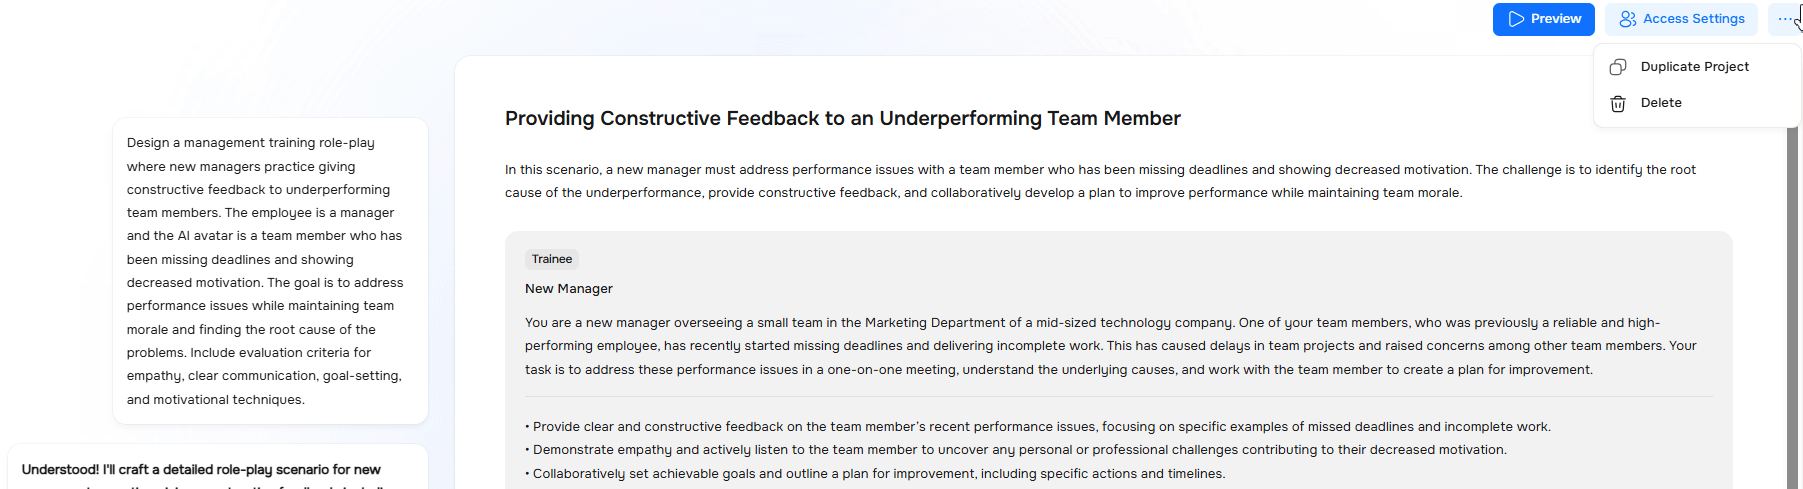
You have created a roleplay – now set up who can access it, when, and how. This will help you control the budget, timeline, and access for trainees. To do this, click the "Access Settings" button.

Each setting can be turned ON or OFF using a toggle switch:
Blue (Cyan) – setting is ACTIVE.
Gray (White) – setting is INACTIVE.
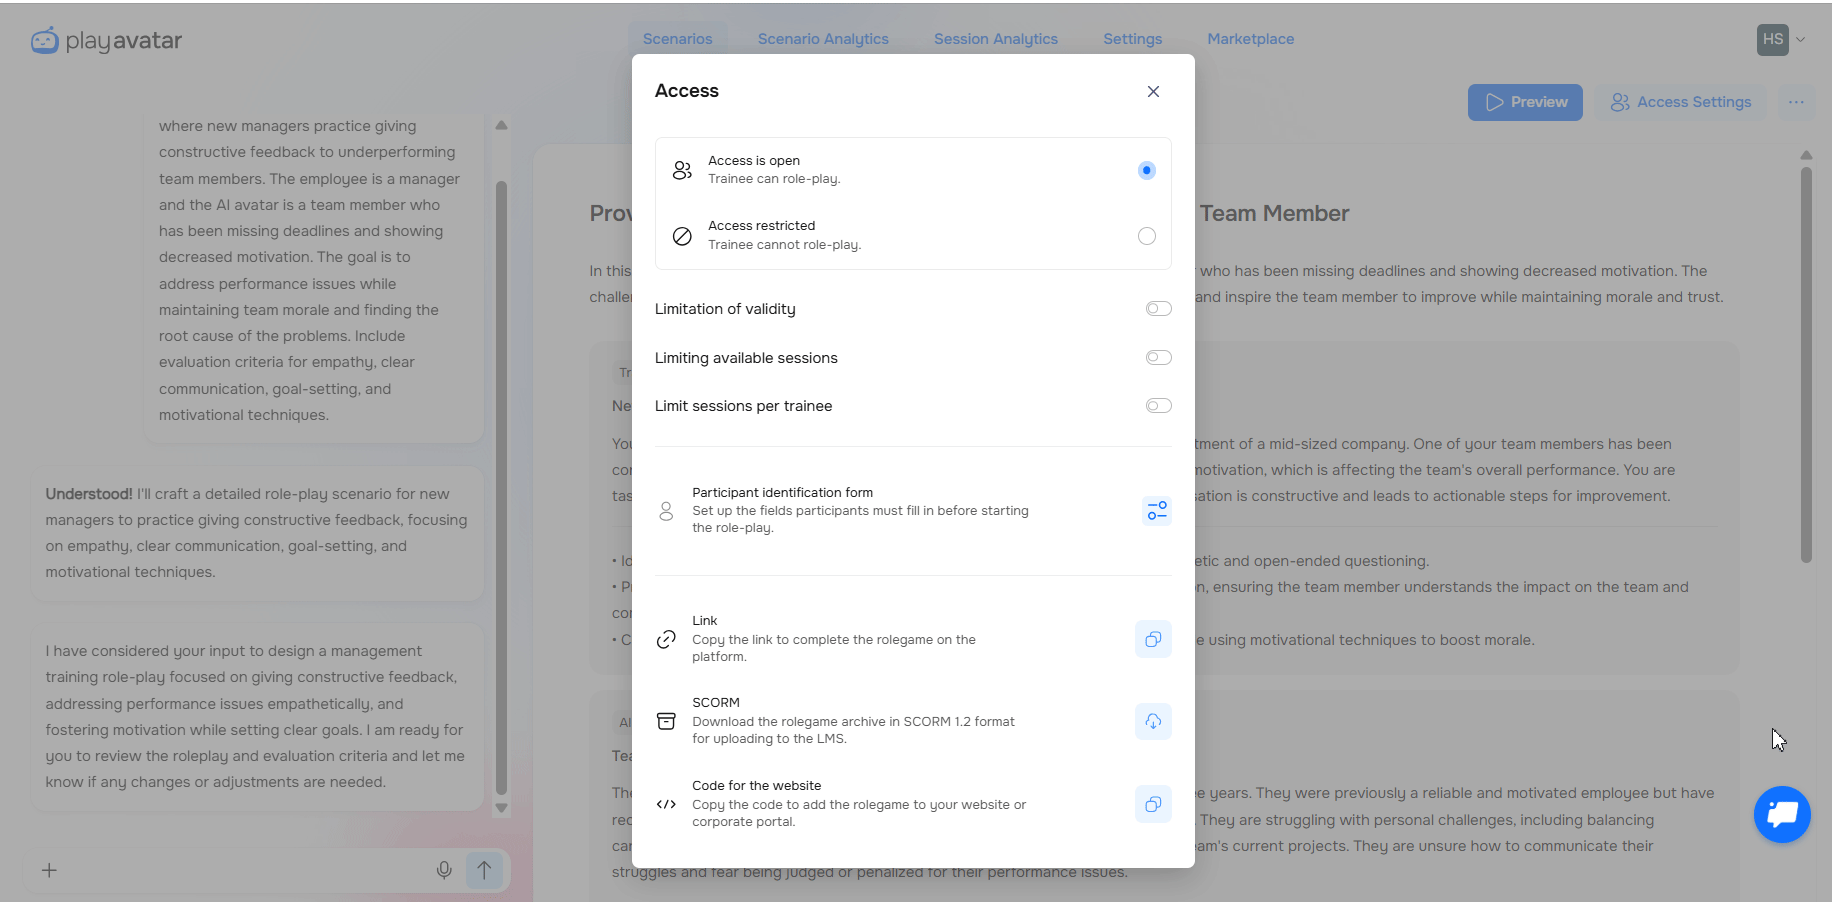
The table below lists all available settings. Enable only what you need for your specific task.
| Function | What it's for |
|---|---|
Access is open/Access restricted | Allow or prevent trainees from participating in the roleplay. ⚠️ If you disable access, all other settings will become unavailable. |
Limitation of validity | Specify the date by which the roleplay must be completed. For example, if the training must be finished by the end of the week. |
Limiting available sessions | Control the overall budget: the system aggregates session usage across all trainees and automatically blocks access to the roleplay once the set session limit is reached. 🤓 For example: |
Limit sessions per trainee | Specify how many times a single trainee can play this roleplay. 💡 What is the difference between limiting available sessions and limiting sessions per trainee "Limiting available sessions" restricts the total number of attempts (sessions) but does not control who uses them. These could be 10 different employees (1 time each) or, for example, 2 employees (5 times each) — as soon as the total number of completed sessions reaches 10, access will be restricted. A "Limit sessions per trainee" restricts the number of retakes for one specific employee. If it is set to 3, the same user will not be able to start the game a 4th time, even if the overall limit of 10 sessions has not yet been reached. |
| Participant identification form | A setting that allows you to determine which fields participants will fill out before completing the roleplay. Check the boxes next to the required fields and click "Save". Available fields: first and last name (selected by default), email, phone number, employee number, city, company, position. ⚠️ At least one field must always be selected by default in the settings — for example, just the first name or last name. The system will not allow you to clear all the checkboxes. |
Link | Copy a direct link to the roleplay to share with colleagues or include in an email. ⚠️ Participants can immediately follow your link, complete the roleplay, and receive a personalized report upon completion. Each completed roleplay deducts credits from your organization’s balance. |
SCORM | Download an archive in SCORM 1.2 format for uploading to your LMS. 💡 About the passing score and completion status in the exported SCORM file When the you added roleplay to a course through LMS, the system automatically sets the passing score at a minimum of 70 points. This is a fixed rule across all scenarios, and you can’t change this threshold. If your score is 70% or higher, the game is marked as completed. If your score is below 70%, the status will stay as "In Progress." |
Code for the website | Embed the roleplay directly onto your website or corporate intranet using the provided <iframe> code. |
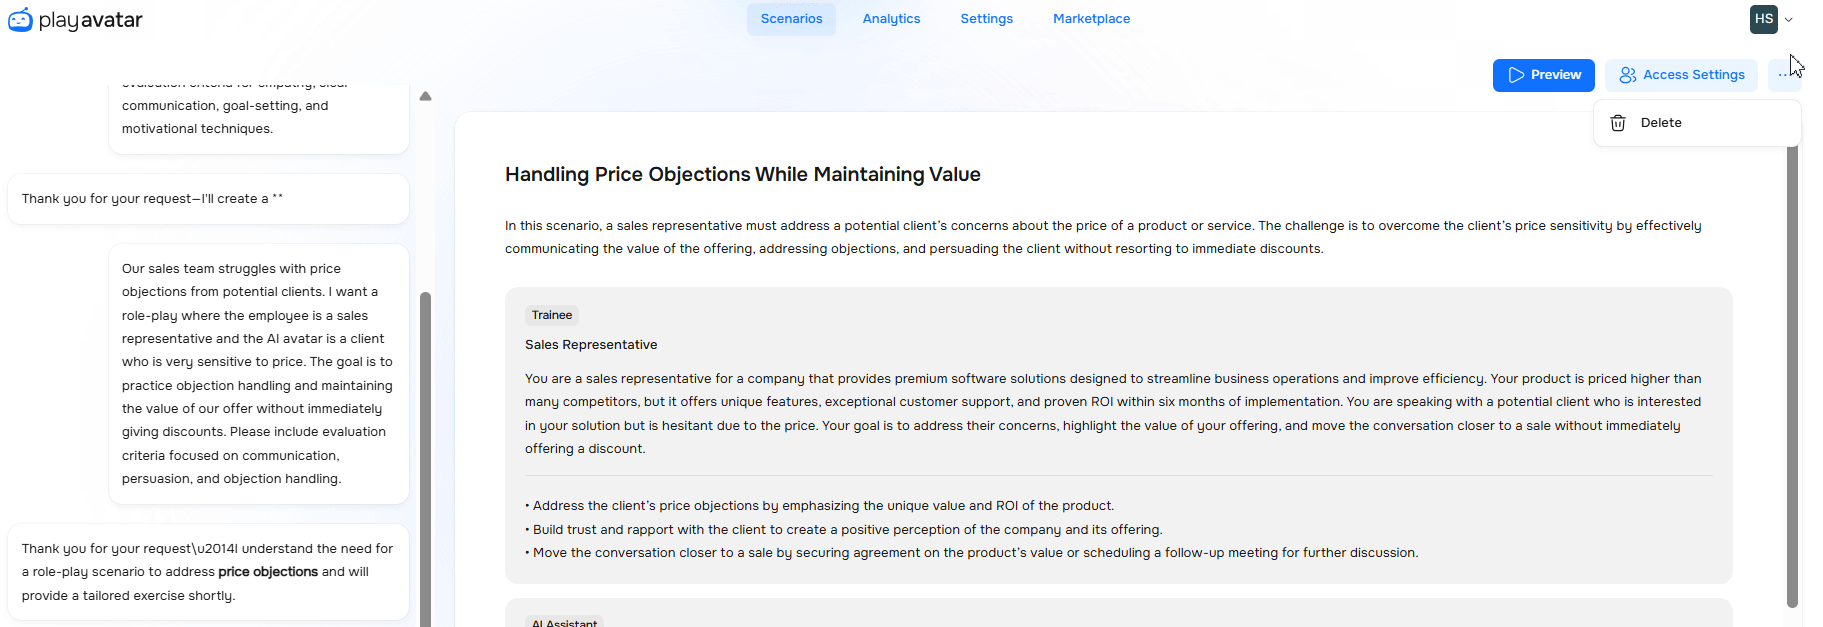
Delete a Scenario
If a scenario is outdated or no longer needed, you can delete it. To do so, click the three dots and select "Delete".
Duplicate Project
You can create a copy (duplicate) of a scenario. This is convenient when you need to save the original settings, but at the same time experiment with new evaluation criteria, add details to the description of roles, or play out a new situation.
How to Duplicate a Scenario
Click on the three dots and select "Duplicate Project".
Once clicked, a copy of the scenario will be created instantly. It will automatically appear on the screen, fully ready to use.
💡 To avoid confusing copies, rename the new scenario right away. For example, add a note like "copy" or "test" to the title.
Edit Again
You can reopen and edit any scenario. This is useful for updating information or improving the scenario based on feedback.
For more details on working with a scenario, see this article.
Need Help
Write to us in the chat — we're always happy to help💬